

The Admin
The admin at /admin/ is where you configure TotalBase. End users use the same address: when someone who isn't an administrator signs in, they land in the App and see only what has been published to their roles.
Layout
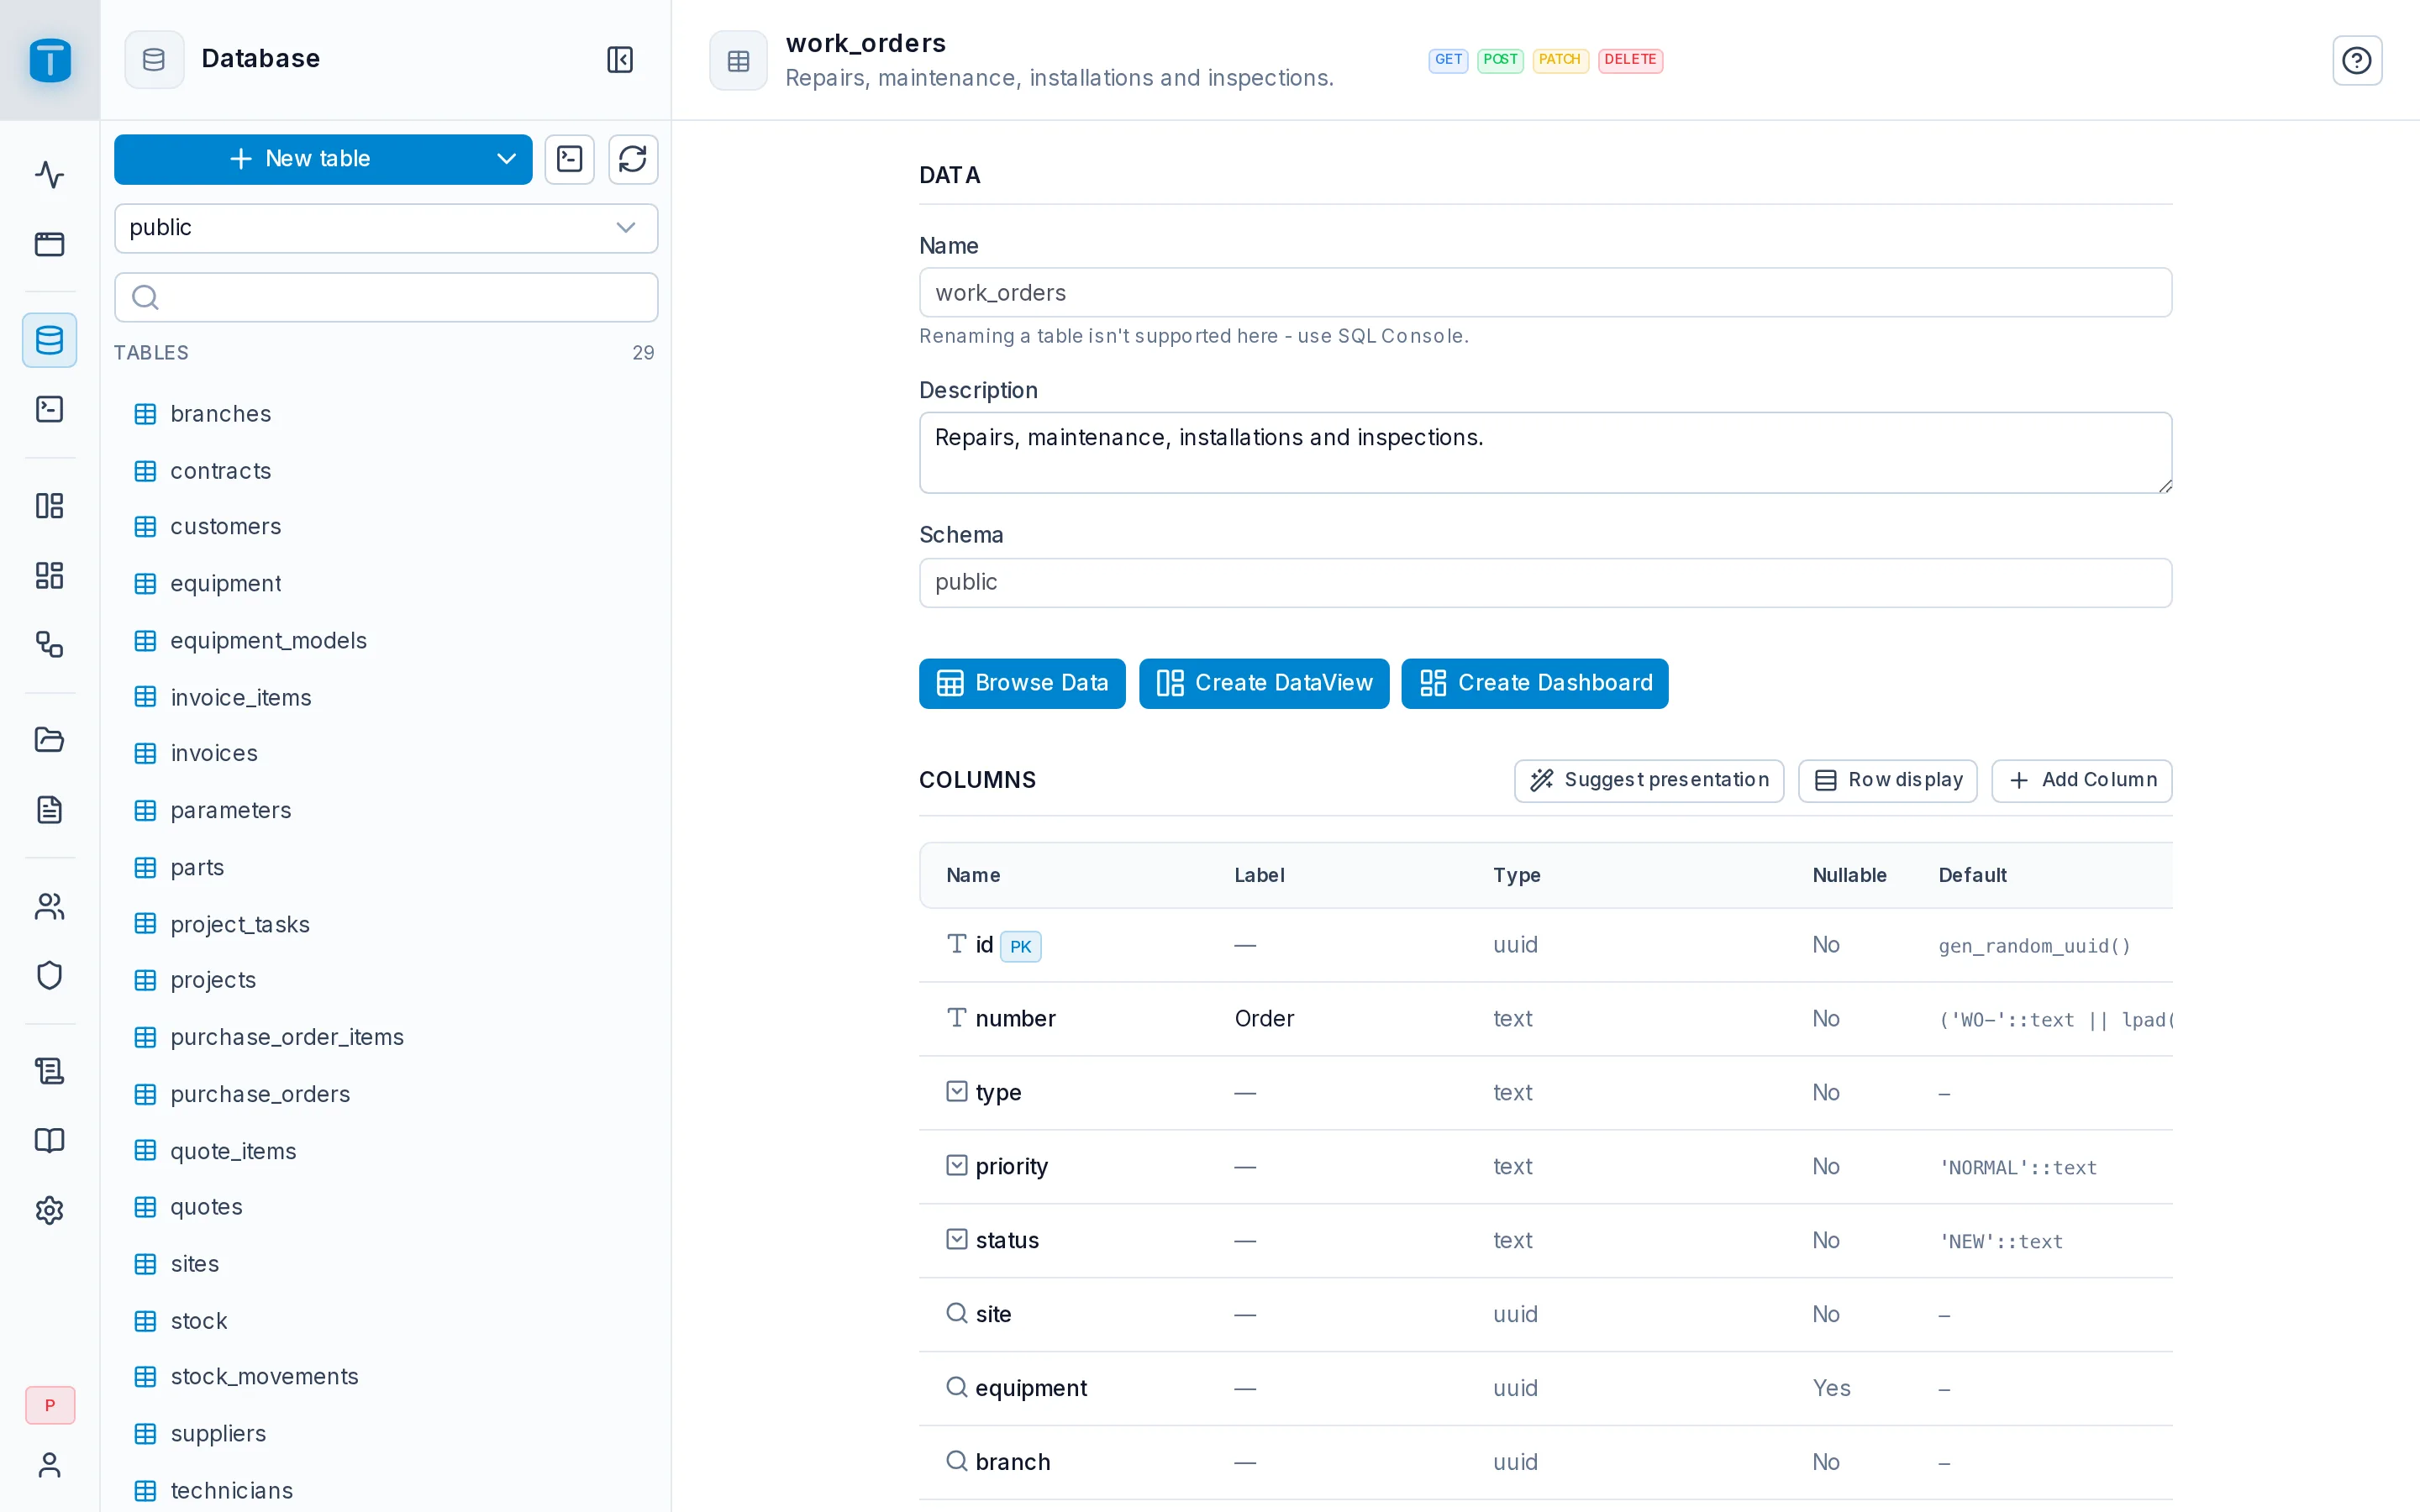
On a desktop the screen has three columns:
- The rail: one icon per area. Your account menu (My account, light or dark mode, Log out) is at its foot.
- The panel: the active area's tree or list, such as the schemas and tables of Database, or the roles of Roles. You can resize it, or collapse it to free the width.
- The main area: the page itself. The header holds the page's actions, ending with ?, which opens the page of this documentation about that screen; on long lists the footer holds pagination.
On a phone or tablet, the rail and panel fold into a menu opened by ☰ in the page header. Press Ctrl+K (Cmd+K on a Mac) anywhere to jump to any page by name.
The areas
| Area | What it's for |
|---|---|
| Status | The administrator's home: anything that needs attention, the last 14 days of activity, errors and failed workflow runs, and database size. |
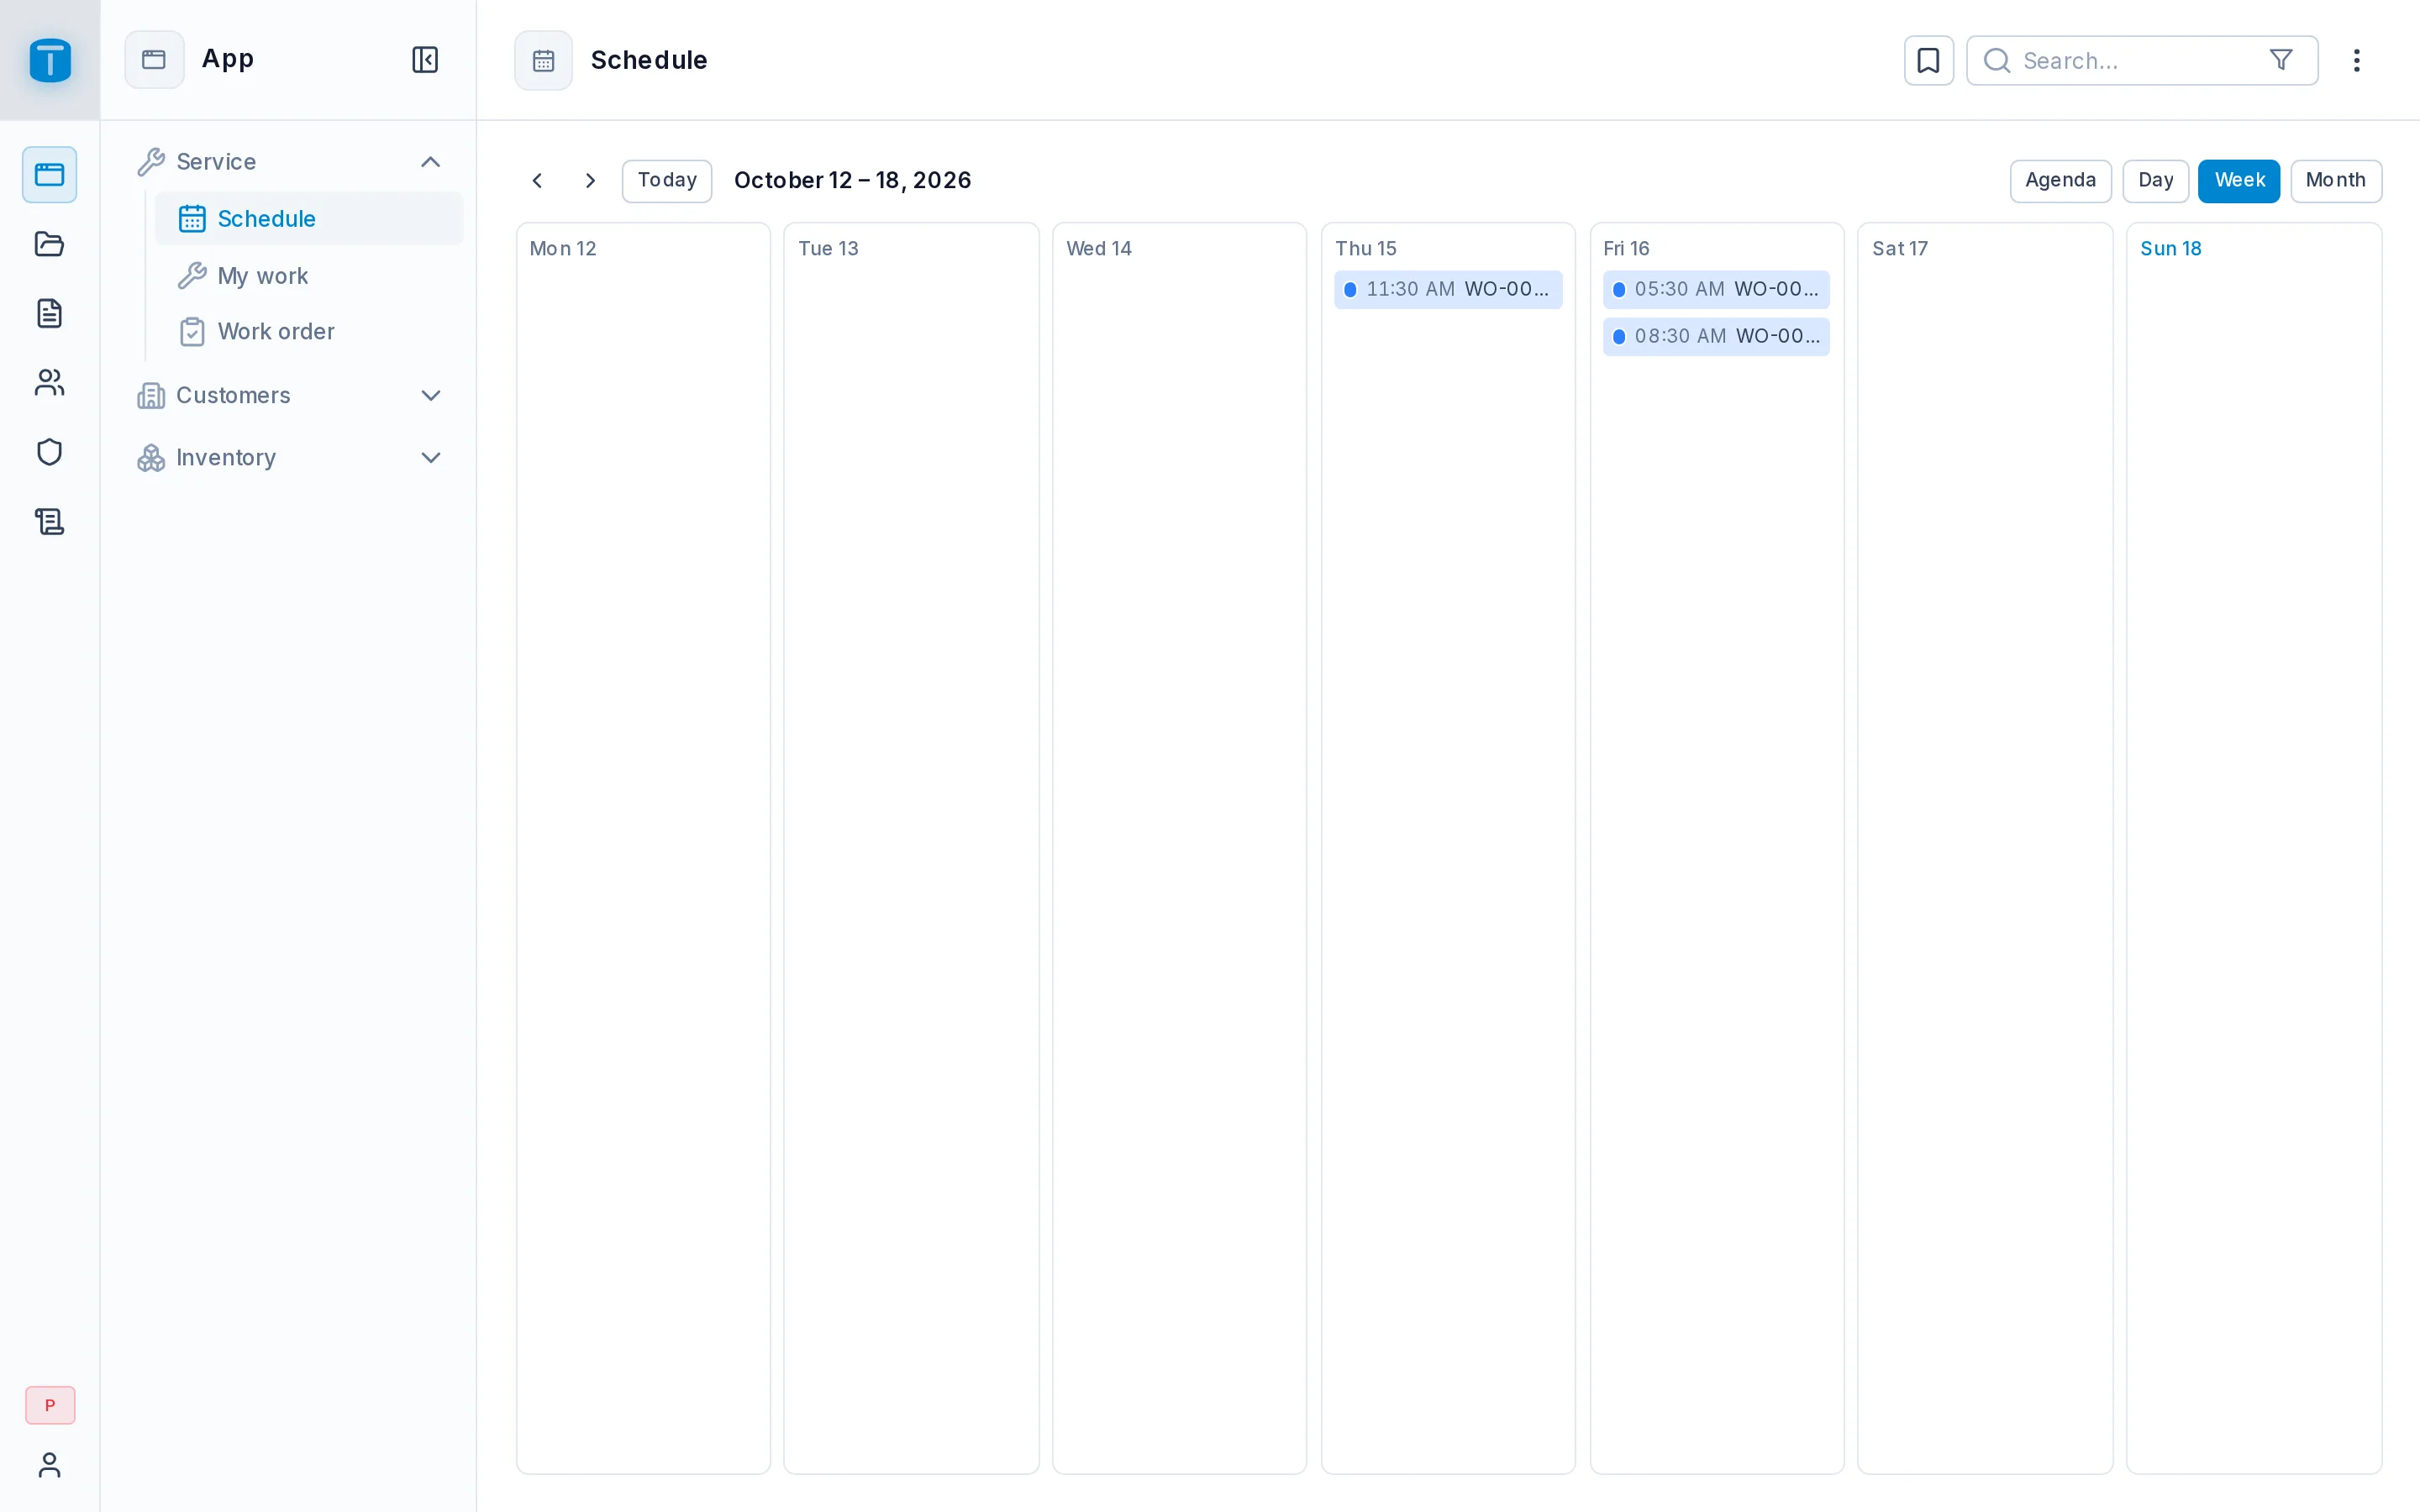
| App | The portal end users work in: the published DataViews and Dashboards, arranged in one menu. Administrators arrange the menu here. |
| Database | Your schemas, tables, views and functions. Create and edit tables, choose which HTTP methods each one exposes, set how columns are presented, and configure auditing. |
| Console | The SQL Console: run any SQL your database role allows, with history and EXPLAIN. Administrators only. |
| DataViews | Design screens over your data: grids, forms, cards, kanban, calendar, Gantt, maps and custom pages. |
| Dashboards | Build reports from SQL queries: charts, numbers, tables and maps, with variables viewers can change. |
| Workflows | Automation: a trigger (a data change, a schedule, a webhook, a button) followed by steps. |
| Files | Uploaded files and folders: images, signatures, attachments. |
| Templates | Email and PDF templates, and the system emails (invitation, password reset). |
| Users | Accounts, API tokens and sessions, and sign-in insights. |
| Roles | Roles, their access flags, members, and the permission matrix. |
| Logs | The audit log: every write, sign-in and configuration change. |
| Docs | The generated API reference: every endpoint and the OpenAPI documents. |
| Settings | Instance settings: email (SMTP), authentication, security, API limits, the MCP server, and each feature's options. |
Two kinds of users in one portal
The same portal serves two kinds of users:
- Administrators hold the reserved Administrators role. They see every area and bypass data permissions.
- App users hold roles with App access. They see the App, My account, and any administrative area that a permission gives them. For example, a role that can read users sees Users. See Delegated administration.
Drafts, settings and publishing
DataViews, Dashboards and Workflows each have two screens: Design (the canvas) and Settings (General, the object's own sections, Security, Versions). Every edit saves itself to a draft right away. Nothing reaches users until you click Publish. See Drafts and publishing.
Language and appearance
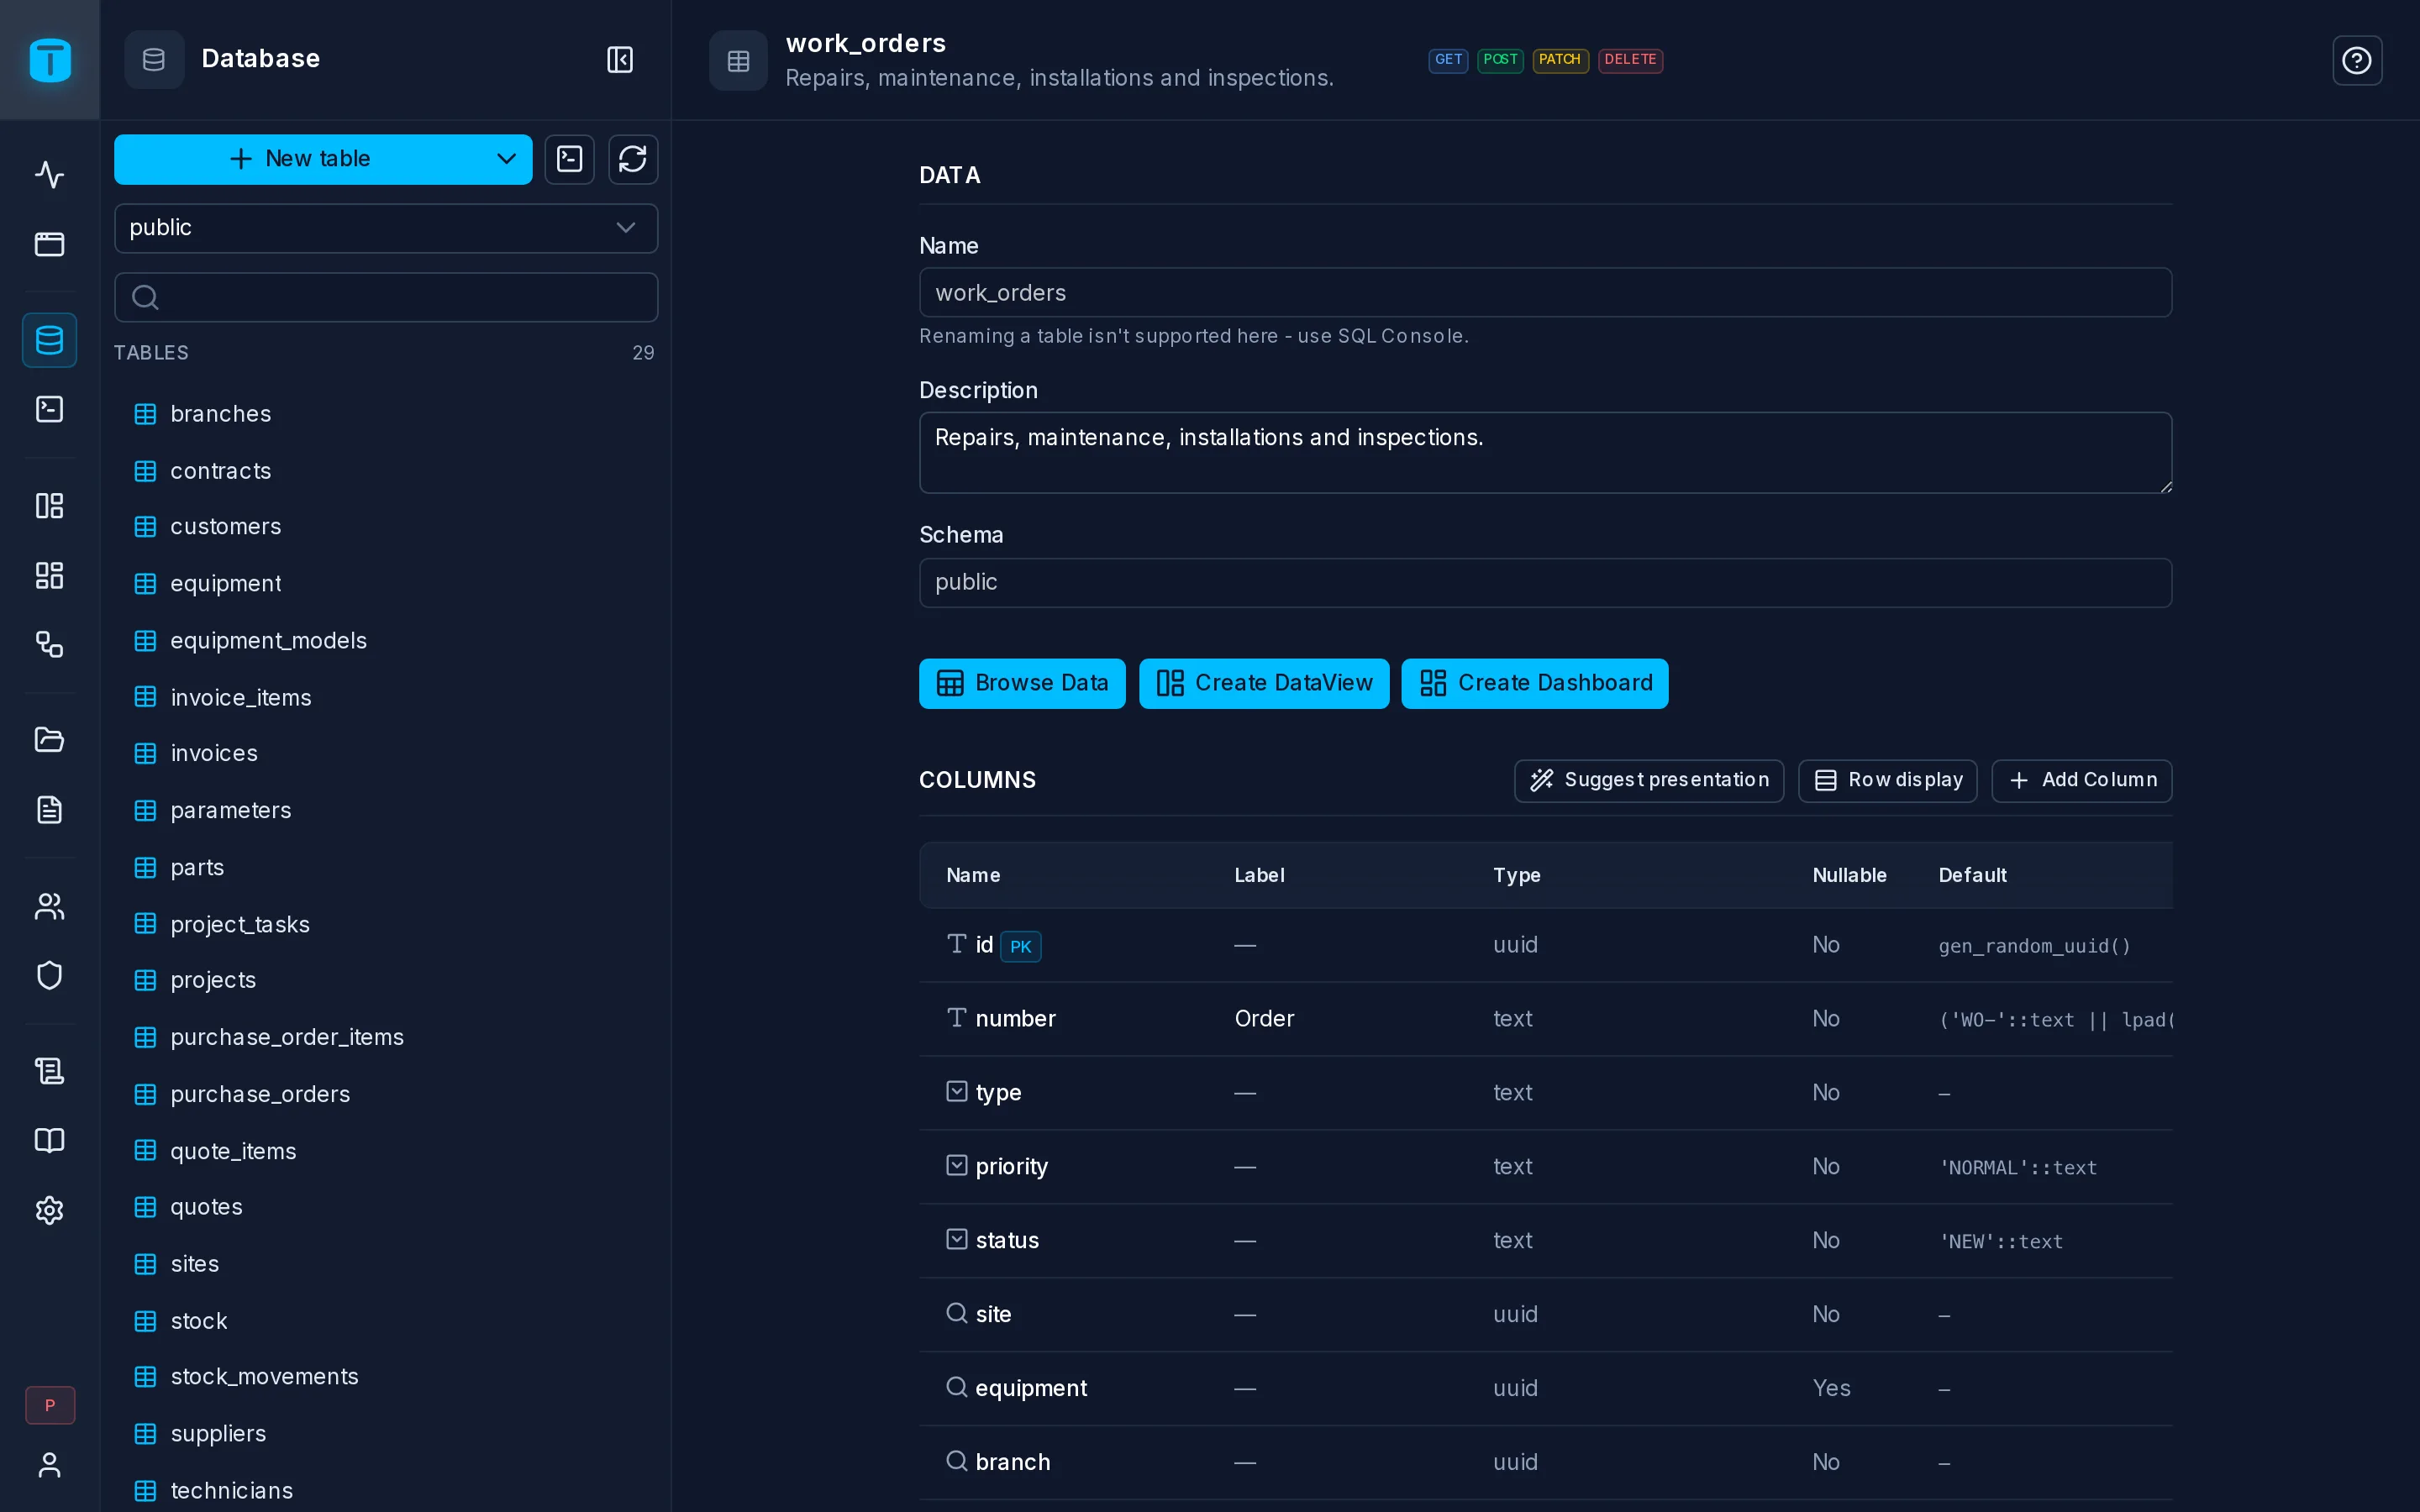
The admin is available in English and Spanish. Each user chooses a language in My account. The instance's default language is in Settings › General. The logo, colors and sign-in page layout are in Settings › Appearance.
Next steps
- Quickstart by Hand, if you haven't created and exposed a table yet.
- Resources: what Database lists and how exposure works.
- Users and roles.